
You don’t always have to have amazing drawings and doodles to make your bullet journal look beautiful. Sometimes all you need is some beautiful hand-lettering to make your pages look amazing.
Here are a few simple hand-lettering ideas to give your bullet journal pages a romantic theme. Just in time for Valentine’s Day. Or just because.
Hand-lettering Supplies
You don’t need a great supply of expensive stationery to create these headings. This is the list of supplies that I used in the following list of hand-lettered headings:
- Fine liners – My favourite waterproof BLACK fine liners are the Staedtler Pigment Liners. For coloured fine liners you can check out the Staedtler Triplus Fineliner which comes in 36 colours or the Stabilo Point 88 Fineliners which come in 30 different colours.
- Felt pens/markers – Crayola Super tips, I’ve found these are the best value for money. They are incredibly cheap, and if you buy the 100 box, you get a huge range of colours. They are also great for beginner brush-lettering and also for highlighting!
- Pencil
- Eraser
- Notebook – I’ve used a notebook in this tutorial. But I also recommend the Scribbles That Matter or Leuchtturm.
For a more comprehensive list of Bullet Journal Supplies, check out Essential Bullet Journal Supplies.
Before we start, I almost always draft up my hand-lettered headings with a pencil first. I’m not a professional at this and whenever I do decide to dive in with pen straight away I always seem to make a mistake. Going in with pencil first means that I can avoid spelling mistakes (that’s if I catch them before I ink it in!), get the sizing of the font right and I can make sure I can fit the whole word or words on the page!
First off, let’s start with a simple block alphabets that we can use as a foundation for our hand-lettering. This font is great for colouring in or shading or outlining in different pens and colours to give many different looks. You can check out this post which teaches you 11 simple hand-lettered fonts for your bullet journal.

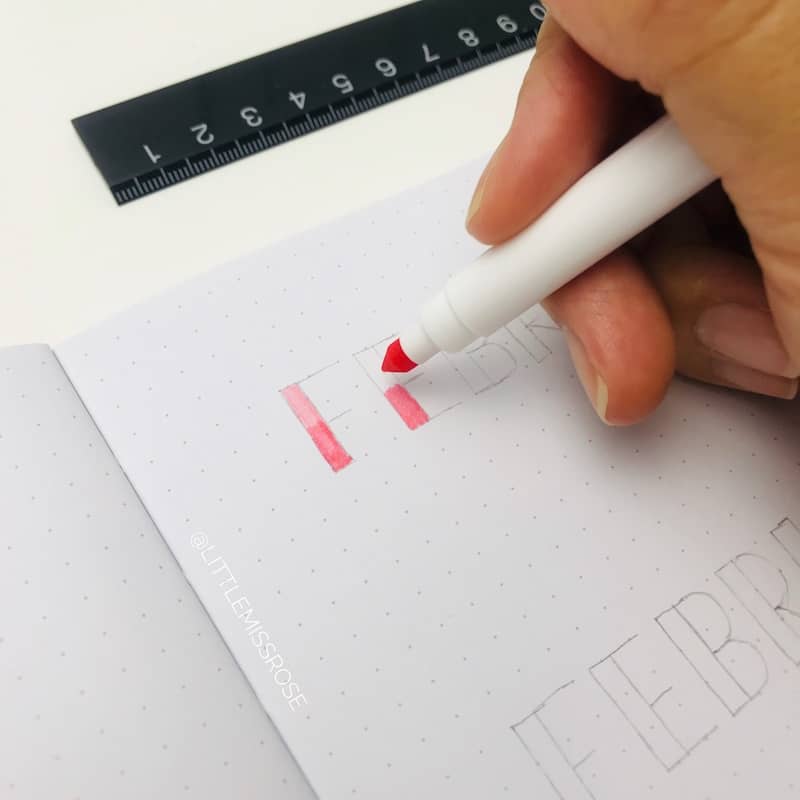
1. Gradient Hand-lettering
For the first style, simple draw your heading in the style above and then select two shades of a single colour. Felt tip pens or brush pens work best for this. I own a 100-pack of Crayola supertips which gives me ALL the colour options and they are super cheap. (Plus you can use them as a brush pen). Simply colour in the bottom half of each letter with one pen and then the top half in the other.
If you don’t have two shades in the one colour that you want to use, you can simply go colour in the whole letter with your pen and then go over half of the letter with the same pen again. This will give you a darker shade. The only issue with this is that if the paper in your bullet journal isn’t that good, the pen can bleed through to the other side. So beware!
After you’ve done this, you can use a black fine liner (or any colour you choose) to online the letters. And you’re done!

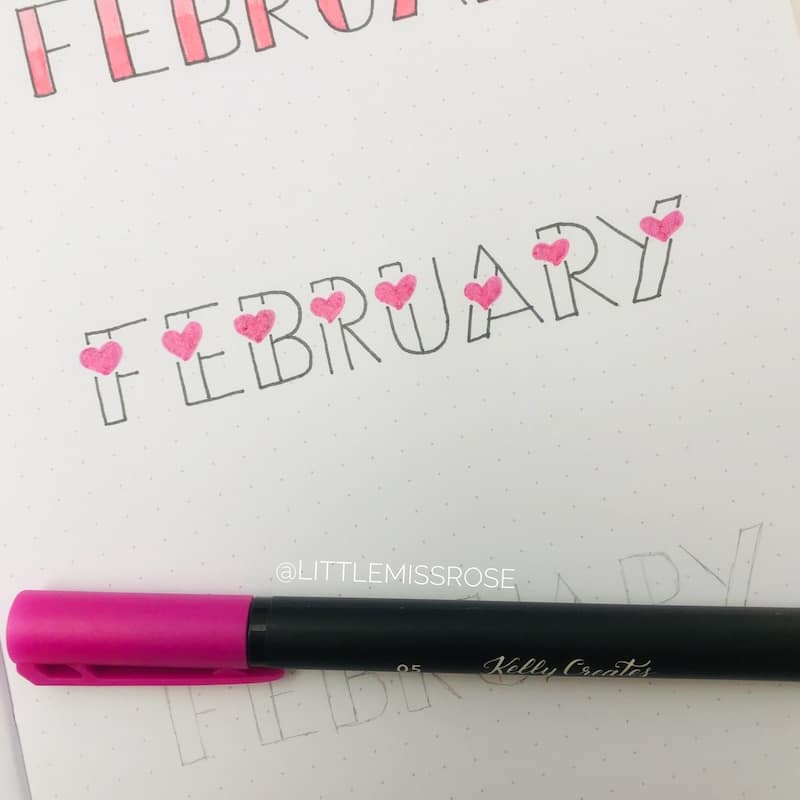
2. Big, Bold Hearts
For the next style, use your pencil to create your heading with the same font as above. Next imagine there is a horizontal line a quarter of the way down your heading. Along this line, on the thickest part of each letter, draw a heart using your favourite colour fine liner. Make sure the heart is wider than that part of the letter:

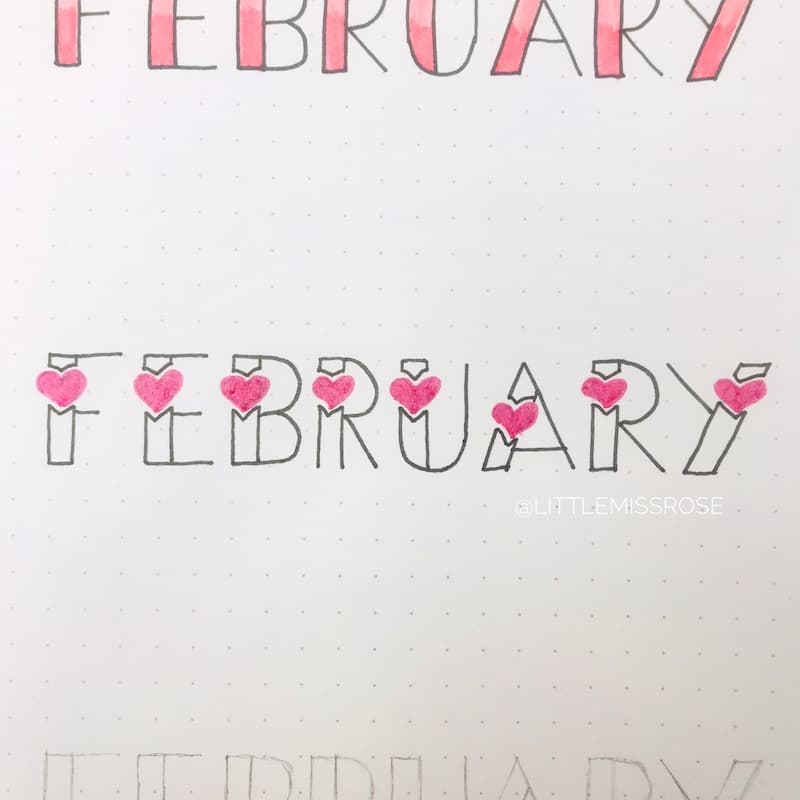
After that, using a black fine liner, ink in your letters, leaving a small gap between the hearts and your black pen. This heading is cute just like this.
Otherwise connect your black pen lines like this, for something a bit different:
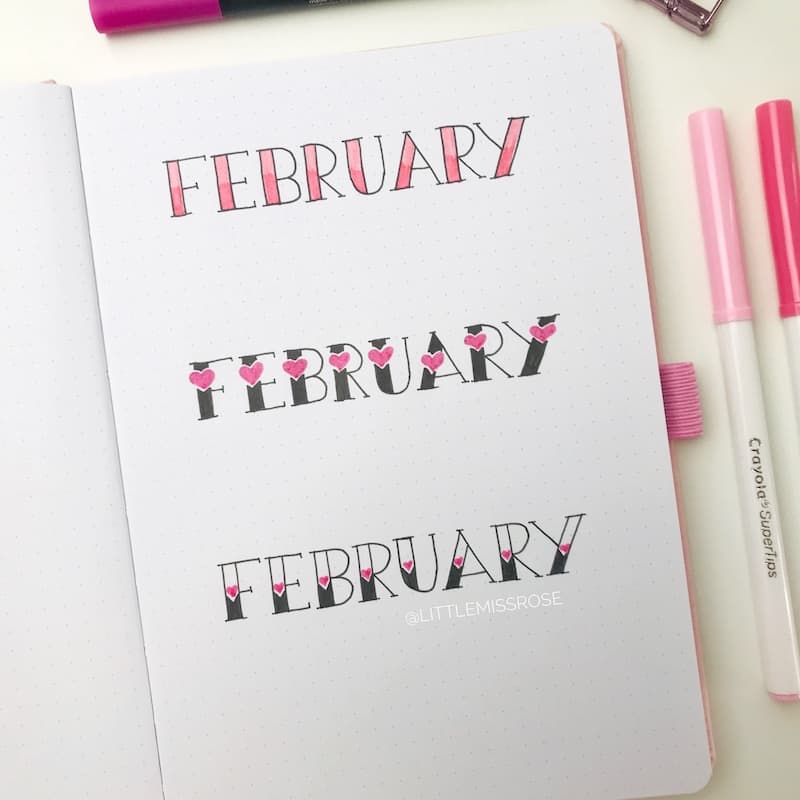
To make it bolder, colour it in!

3. Hearts take 2!!
Just like in the example above, draw your heading, but this time when you draw the hearts on your letters, make sure they fit within your letters. The hearts are also better positioned half-way as well.

Once you’ve done that colour in the bottom half of your letters using a black fine liner leaving a bit of negative space around the heart. Like this!

You can change the look of all three lettering styles by adding a serif to them. A serif is a small line at the attached to the end of the larger strokes in the letter.
For the next set of hand-lettering I’m going to show you, we’ll be using cursive writing. Don’t get scared off. Just because you don’t have nice hand-writing does not mean you cannot produce beautiful cursive.
Some hand-lettering out there can look super fancy pants and beautiful which may be off-putting for a beginner. But there is one thing you should realise about hand-lettering. It is an art and a skill. If you view it as art then you’ll realise that you don’t need to have super neat handwriting to achieve it. Just like artists who paint and draw might not have neat handwriting.
Here is an alphabet of some cursive lettering which you can use to build your words. Just remember to take your time when writing, and use pencil first if you want.

Start with a quote or heading. Cursive lettering tends to have a more romantic feel to it if you exaggerate the loops like in the letters f, r, l, g and y.

4. Flowers
Using any felt tip pen you have on hand, create some rough floral shapes near your lettering. You can draw as many as you want, but sometimes less is more.
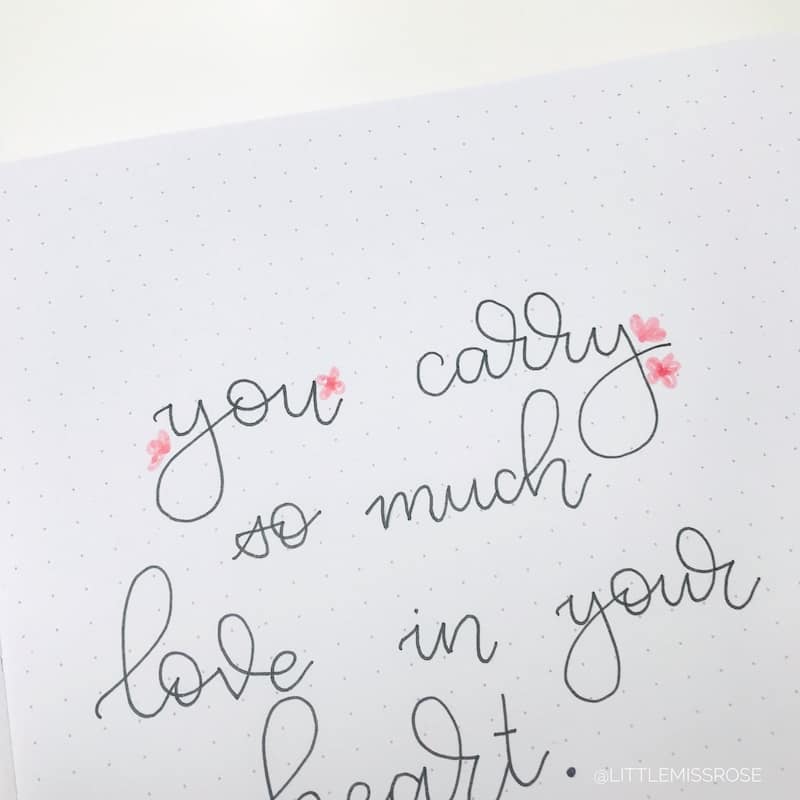
Using a black fine liner, outline the petals. Don’t worry that it’s not perfect, the flowers are meant to be rough and organic.

5. More Hearts
This time instead of drawing flowers, use a black fine line and add simple hearts to the lettering.

6. Drop Shadow
Ok so this romantic hand lettering idea isn’t really just a drop shadow like I’ve shown you before in previous posts. I found this quickest using a Crayola super tip pen as I only needed to draw the lines once, but you could use any brush pen or felt pen. Just create a drop shadow to the right and bottom of your lettering. Make the drop shadow thick. It then makes the lettering look like a thick piece of ribbon.

As with anything to do with art, you’ll get better with practice. Give these ideas a go using different pens and colours. Experiment by combining all the different ideas to come up with something new.
I’d love to see your progress so make sure you share by tagging @littlemissrose over on Instagram or send me an email!
Happy journaling,

If you enjoyed this article, share it on Pinterest!


