This month I decided that I wanted to improve at drawing florals. I’m actually not very good at it. Well, I’m not very good at it if you asked me to draw a flower from my head. But if you give me a photo or a drawing I can copy from, then I do ok.
I really wish I was one of those people that can just draw. You know, they put pen to paper and something amazing appears, quickly and effortlessly. Everything I create takes time, a lot of pencil and a lot of eraser. My goal this month is to improve on that.
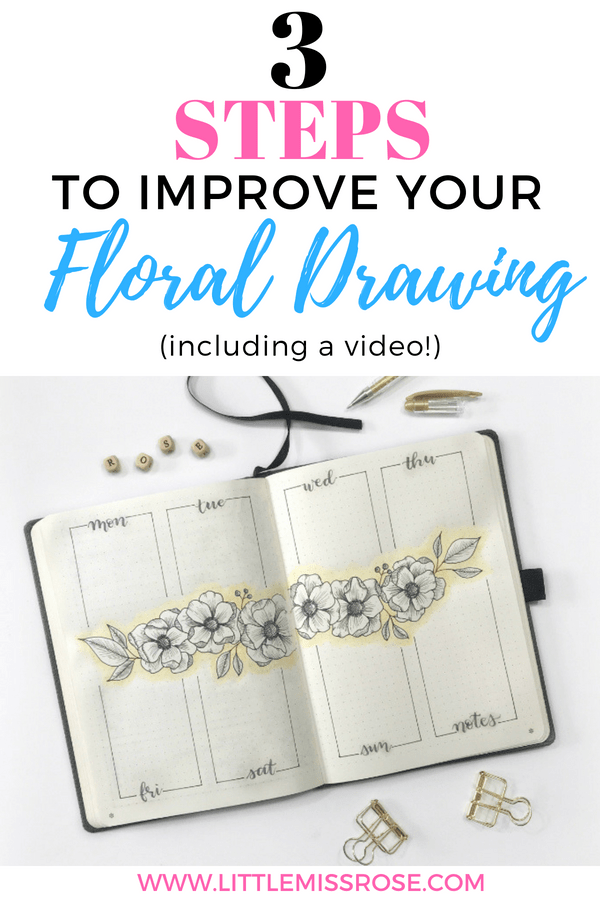
How to Improve at Drawing Florals
First, find inspiration!
For inspiration, I looked at flowers on Pinterest, you can check out my Flowers Pinterest board and my Floral Line Drawing board here:
I then scrolled through some of my favourite bullet journal accounts on Instagram who create beautiful floral spreads. Some of my favourite floral bullet journal accounts are:
Second, Follow Tutorials
After looking at inspiration, I settled on a specific flower I wanted to focus on. I chose the anemone, because it’s beautiful yet still looks fairly simple to draw. And lucky for me, I found a couple of tutorials that broke down the steps for me!
The first tutorial is from @bonjournal_

And the second anemone tutorial is by Kimmy from @bumblebujo

Lastly, Practise!
Really, there appears to be only one real way to get better at drawing florals. That one thing is practice. That’s what all experts in their field say. So that’s what I’ve set out to do this month in my bullet journal. Practise, practise, practise!
I don’t have a lot of extra time in my life to sit around and just draw. I have a job, and two little kids, and a big kid I call husband. So I thought I’d get my practise in by using my bullet journal. I decided to only create floral spreads this month. Two birds, one stone.
Initially, I drew the flowers by following the tutorials and then drawing them by using reference photos from Pinterest. After drawing lots of flowers with a reference to look at, I moved on to trying to just create them myself. It takes a bit of courage and a lot of mistakes, but that is what an eraser is for!
After having created six different spreads drawing over 3 dozen anemone flowers, I do actually fell like I’ve improved! And I can draw a decent flower without having to copy or look at a photo. I still need to keep practising, but I’m getting there.
Floral Bullet Journal Weekly Spread – My First YouTube Video
As well as the practising so that I could improve at drawing florals, I ignored my self doubt and created my very first bullet journal video!
I have been umming and ahhing for a long time about whether I had the time, skill and tools to create a video that was worthy of uploading, but I decided that done is better than perfect. I kid you not, this took a crap load of time to create. I find it hard to draw without moving my notebook around all over the place, and without practically kissing the paper so this was a definite challenge. Also, I had absolutely no idea how to edit, so I spent a lot of time on YouTube trying to learn all the things!
So here it is! As you can see, I took a lot of inspiration from Kimmy @bumblebujo, including colour choice!
Make sure you read on for tips on what I did in the video.
Tips For How to Get Better at Drawing Florals
1. Start with pencil
I always draft up my spreads with a pencil. I hate mistakes and using pencil and eraser helps eliminate these. It also helps getting proportions right, and to make sure you can fit all 8 (or whatever boxes on the page). Sketch out your flowers, you can be adventurous and try out different shapes and lines without fear of making a permanent mistake. Don’t be afraid to use a pencil!!
2. Use different size pens
Different size pens give different line widths obviously. My favourite pens are currently Kelly Creates Fine Liners. I like to use thicker pens (usually size 05) to draw the outline of the flowers. Smaller sizes to add details, such as the anthers (aka the furry bits around the centre of the flower). In the video, I used a size 03 fine liner. And to add the shading, I used the thinest pen size 005.
3. Shading
In the video, I drew lines following the shape of the petals to add shading. I’m still a newbie at this, and to be honest this step always baffles me a bit, but I’ve found that if you just go for it, the end and overall result is that it never looks as bad as you think it will! As long as your lines go in the same direction, you should be good. Also, the closer the lines are together, the darker the shading which means creating shadow in your drawing.
4. Add interest
Add interest to your drawing by adding leaves or twigs or berries. I have no idea what the leaves of an anemone looks like, but just drew them in anyway. I still think it looks pretty good!
5. Add colour
In the video, I decided to just add one accent colour. Because of the notebook I’m using (Dingbats* Notebook) which doesn’t handle water very well, I used Faber Castell Watercolor Pencils. I used the pencil to add a block of colour around the flowers, and then with a water brush, I painted over the pencils to spread the colour. This gives it a watercolour look without having to use excessive amounts of water and risk bleeding through the page.
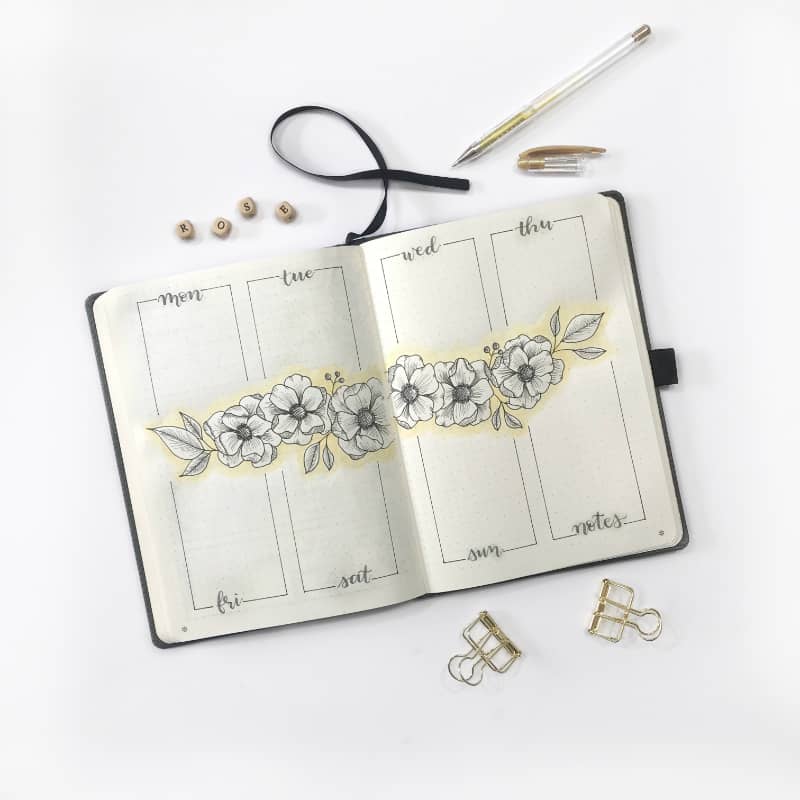
Here’s a photo of the final spread:
I’m curious to know, what did you really think of my first video? Did you find it useful? Have any suggestions for me? What would you like to see me film in future? I really want your guidance on this, because I don’t want to be creating videos that no-one wants to watch! So leave me a comment below, or better yet, send me an email (hello@littlemissrose.com) so we can chat!
I hope you found this blog post useful. And if you decide to try to get better at drawing florals, I’d love it if you shared with me. Just tag me over on Instagram!

If you enjoyed this article, share it on Pinterest!