I am a huge fan of Bullet Journal weekly spreads. I don’t have a hell of a lot of different tasks to complete in a day so I don’t find dailies useful. But I still have enough on my plate that I need to organise my week visually. I also find it a lot easier to plan and prep my bujo for the coming week on a Sunday, instead of planning day by day.
The thing with this is that sometimes I get to Sunday night and I don’t know how I want to complete my weekly spread. Like everyone else, I often run out of inspiration. Yet, I don’t want to do something that I’ve already done. Yip, I like to make things hard on myself!
But lately, I’ve fallen in love with this super simple layout, so I want to share it with you. The best thing about this layout is that you can easily add colour or other elements to create totally different looking spreads! All you have to do is let your creativity flow.
Bullet Journal Supplies Used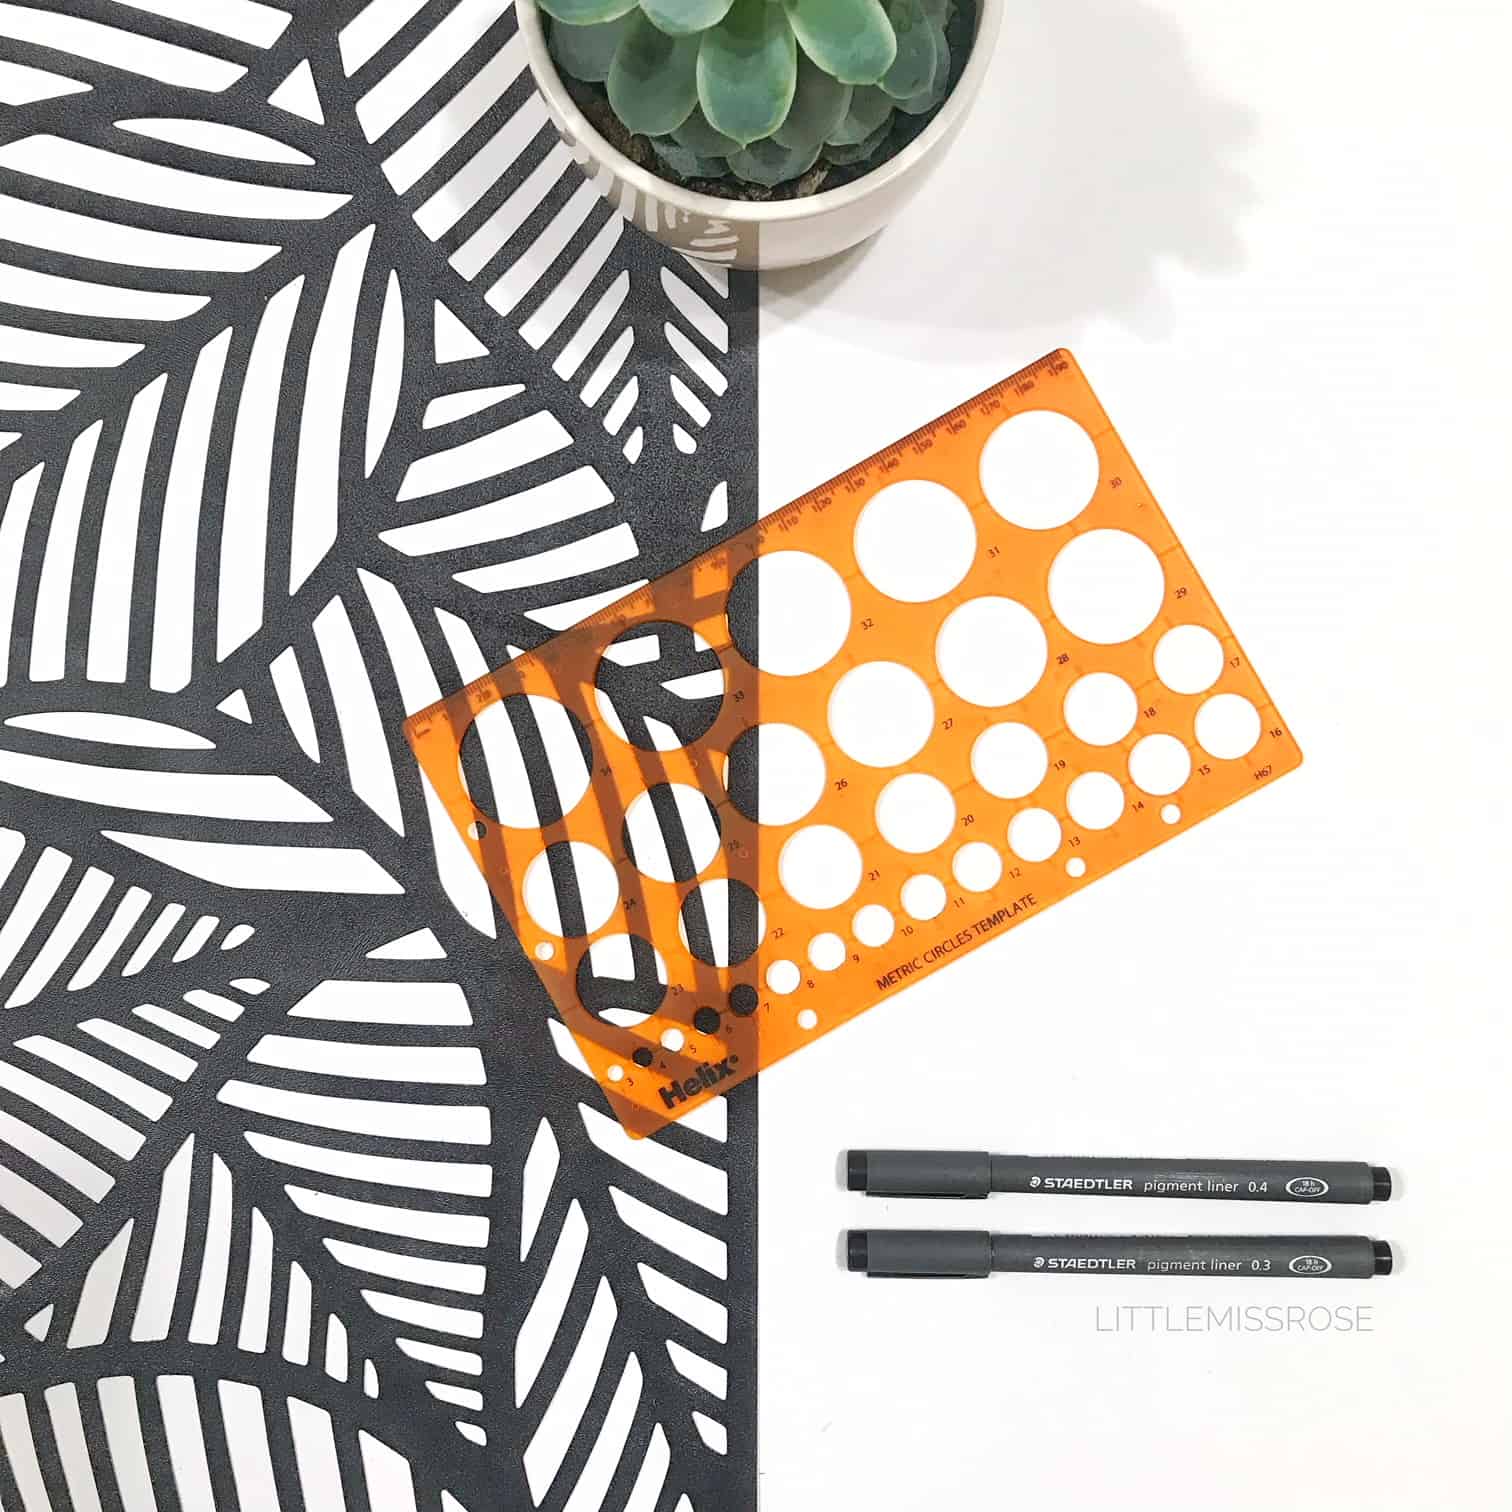
For the following bullet journal weekly spreads I used the following supplies:
- Helix Metric Circles Template
- Staedtler Pigment Liners
- Faber Castell Watercolor Pencils
- Dingbats Notebook Wildlife Collection
Bullet Journal Weekly Spread Basic Template
The basic template for this bullet journal weekly spread is simply 6 circles down the centre of your notebook. To draw these circles I used a Helix Metric Circles Template, using circle size 32. The circles will represent the days of the week – five for Monday through Friday and a sixth for the weekend.

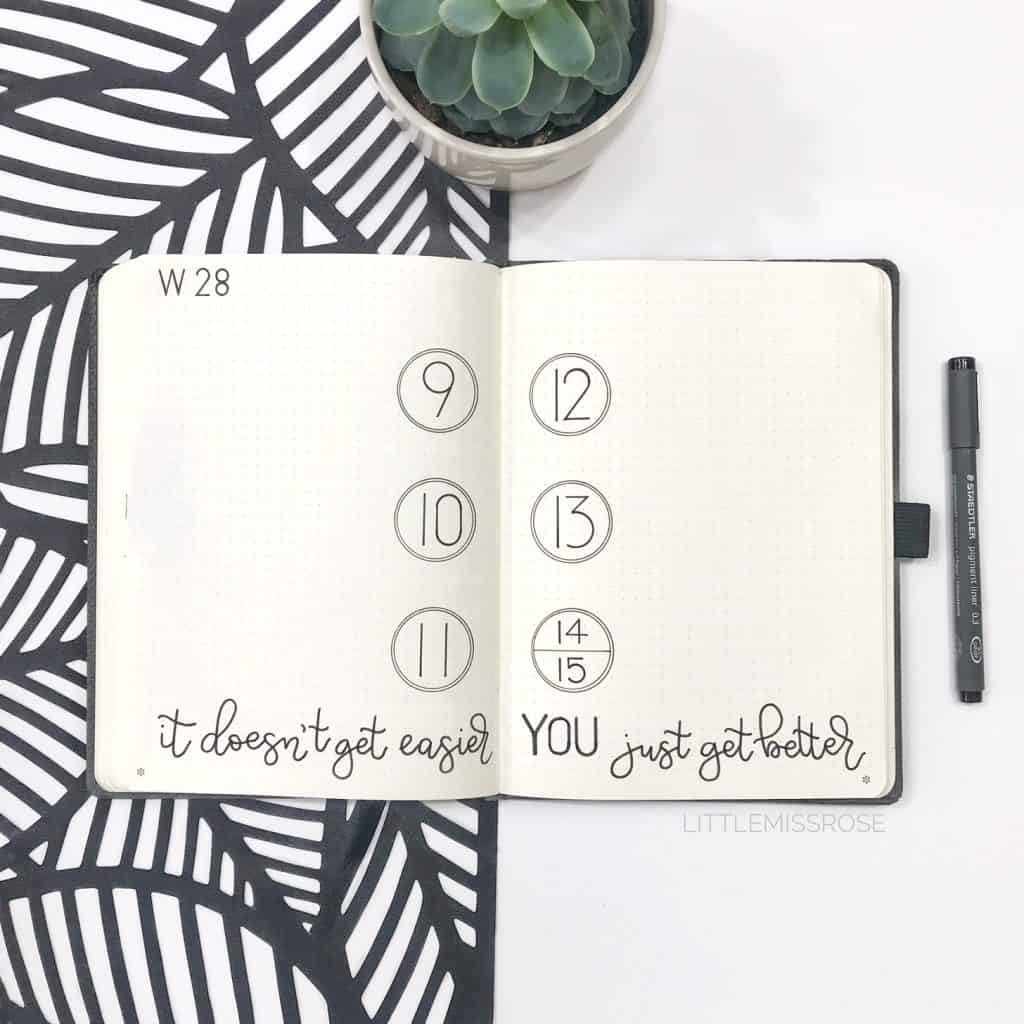
1. Bullet Journal Weekly Spread – Minimal
If you are short on time for planning then this layout is perfect! Start with the template above, add the week number in the top right-hand corner. Then add dates to the circles and if you want, a hand-lettered quote across the bottom of the pages. You can add a bit more detail by drawing a slightly larger circle around the original circles as I’ve done in the photo below.
I did the hand lettering using the Helix Metric Circles Template, using the small circles for the curves of the letters. If you don’t want to do this you can accomplish this look by using stencils which you can get cheaply from Amazon.
I love that this bullet journal weekly spread leaves plenty of room for all your tasks and appointments and it will still have lots of blank space to provide a minimal look.
2. Bullet Journal Weekly Spread – Colour
If minimal or black and white is not your thing but you still don’t have a lot of time on your hands to make your spread look pretty. Then add some colour!
There are so many options for this.
Choose your favourite colour and colour in all the circles one colour. Or create a rainbow and use a different colour for each circle. Select whatever medium you prefer – coloured pencils, paint, felt pen, watercolour!
For the below, I used my favourite Faber Castell Watercolor Pencils in three different colours to create a gradient. I used a water brush to blend the colours after using the pencils.

And you don’t need to be neat and tidy. Go for an abstract look by being messy with your colouring in, or splash some watercolour over your pages.

3. Bullet Journal Weekly Spread – Floral Doodles
If you have a bit more time to spend on your planning, then this version of the Bullet Journal weekly spread is for you. It’s also great if you need some practice with your floral doodles.
I love this spread since I love floral bullet journal spreads that are so popular at the moment. I’m not an expert at drawing flowers and this spread is very forgiving.
Using a pencil draw lots of different flowers around the circles. Don’t be afraid to go over the circle as you’ll erase these lines later. Vary the shapes and sizes of the flower and add random leaves. I find that by drawing lots of different flowers, you don’t notice your lack of skill as much!
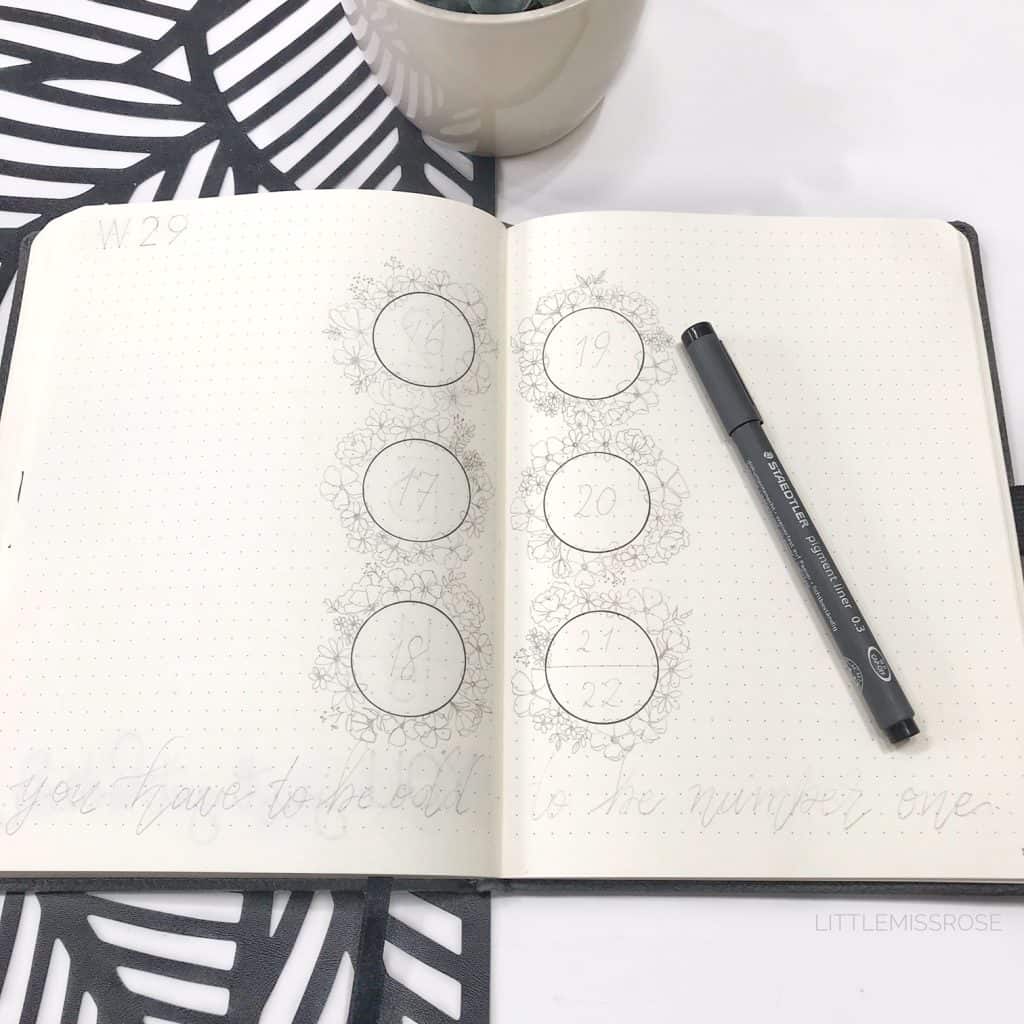
Once you’re happy with your flowers, ink over them but don’t ink over any parts of the flowers that fall within the circle. Erase the pencil and add the dates and a quote if you want. I’ve used a Tombow Fudenosuke to brush letter the dates and quote across the bottom. (I love this pen as it’s great for small brush lettering and has minimal ghosting. It’s also a great pen if you’re a beginner at brush lettering).

4. Bullet Journal Weekly Spread – Habit Trackers
If you’re a person that likes to track their habits on a weekly basis you can still use this spread. Instead of including a quote across the bottom of the page, add habit tracker boxes instead.
You can also change up the heading of the page to include the month and dates. Anything goes. I’ve also thickened the lines of the circles to give them more emphasis and to match the habit tracker boxes.
This spread is still very minimal while being a bit more functional.
![]()
5. Bullet Journal Weekly Spread – All The Things!
If you have even more time on your hands you can add all the things! In this spread below, I’ve added a mini calendar, a box on the right for notes, and spent time working on my hand-lettering with a fun quote on the left hand side. I love how this page has turned out!
And you could still add more to it if you wanted by adding colour or doodles!

So there you have it! Five very different bullet journal weekly spreads from one simple layout. And there are plenty more you could create, you just need to use your imagination and let your creativity flow. Try adding colour in different ways, like in the background rather than just in the circles. Or add different doodles, not just florals. Maybe instead of a quote along the bottom add lots of floral doodles or even washi tape!
If you do decide to give this a try, I’d love to see what you come up with. Either email me a photo or if you’re on Instagram or Facebook, make sure to tag me there. You can be sure I’ll share it with the community if you do!
Happy Journaling,

If you enjoyed this article, share it on Pinterest!


